
DIY S’mores Cake
You will need:
Scissors
Clean, empty bowl
Clean plate
Offset spatula (or butter knife)
Cake stand (optional)
Included:
Cake board
Vanilla buttercream frosting
Chocolate frosting
Marshmallow fluff
Package crushed graham crackers
Graham Crackers
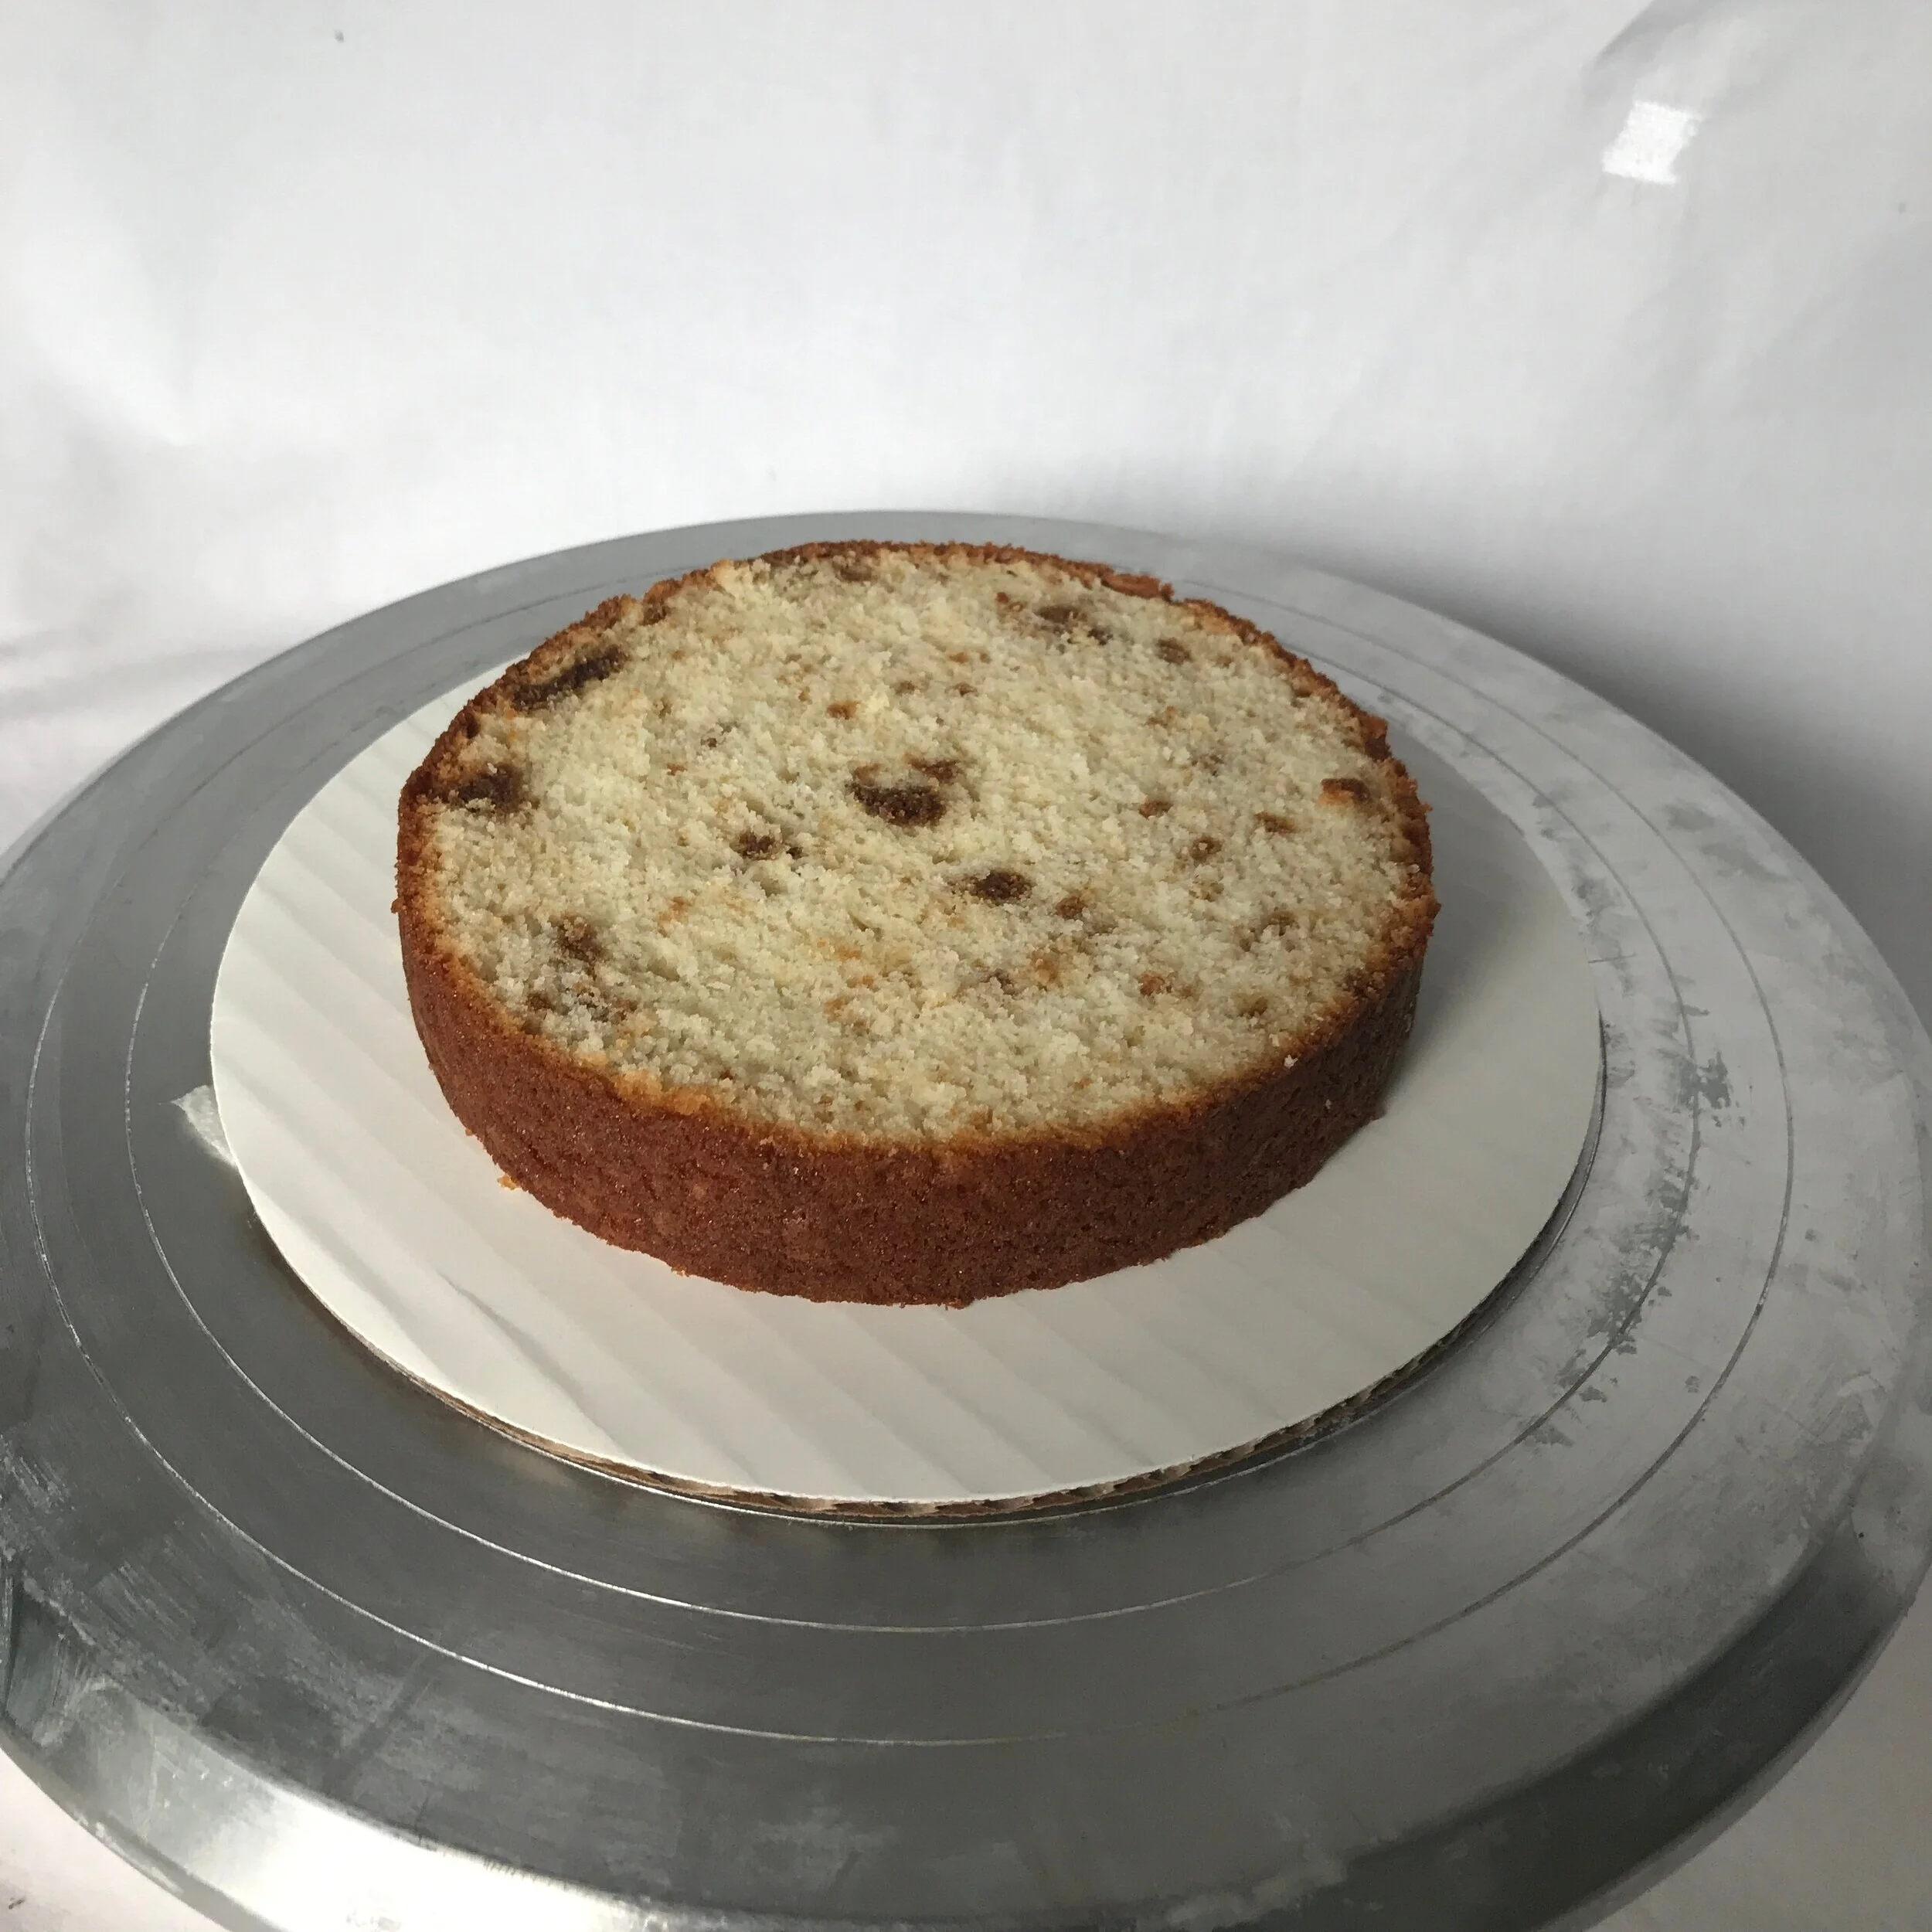
3 layers of caramelized graham cracker cake
Prep work:

Leave all buttercream and caramel topping at room temperature, you don’t want this to be cold
Keep the cake in the fridge or freezer for at least an hour before you plan to start decorating
Read through the instructions
Let’s Begin…
Start by gathering all the items you need and getting your decorating space organized. If it’s cold in your home and the buttercream is still a little stiff, pop it in the microwave for 4 or 5 seconds. This should be all it takes. You don’t want to melt it, but decorating a cake is much easier with a warm to room-temp frosting.

1
Using your scissors, cut off about 1” of the tip of the chocolate buttercream. Take your cake board out and put it in front of you to begin decorating. Put a dollop of buttercream on the middle of the board. this will be used to secure your first layer of cake to the board.
TIP: The cake in front of you is pre-cut into three layers. In order to get the best looking cake you will want to follow the order of cake layers instructed.
2
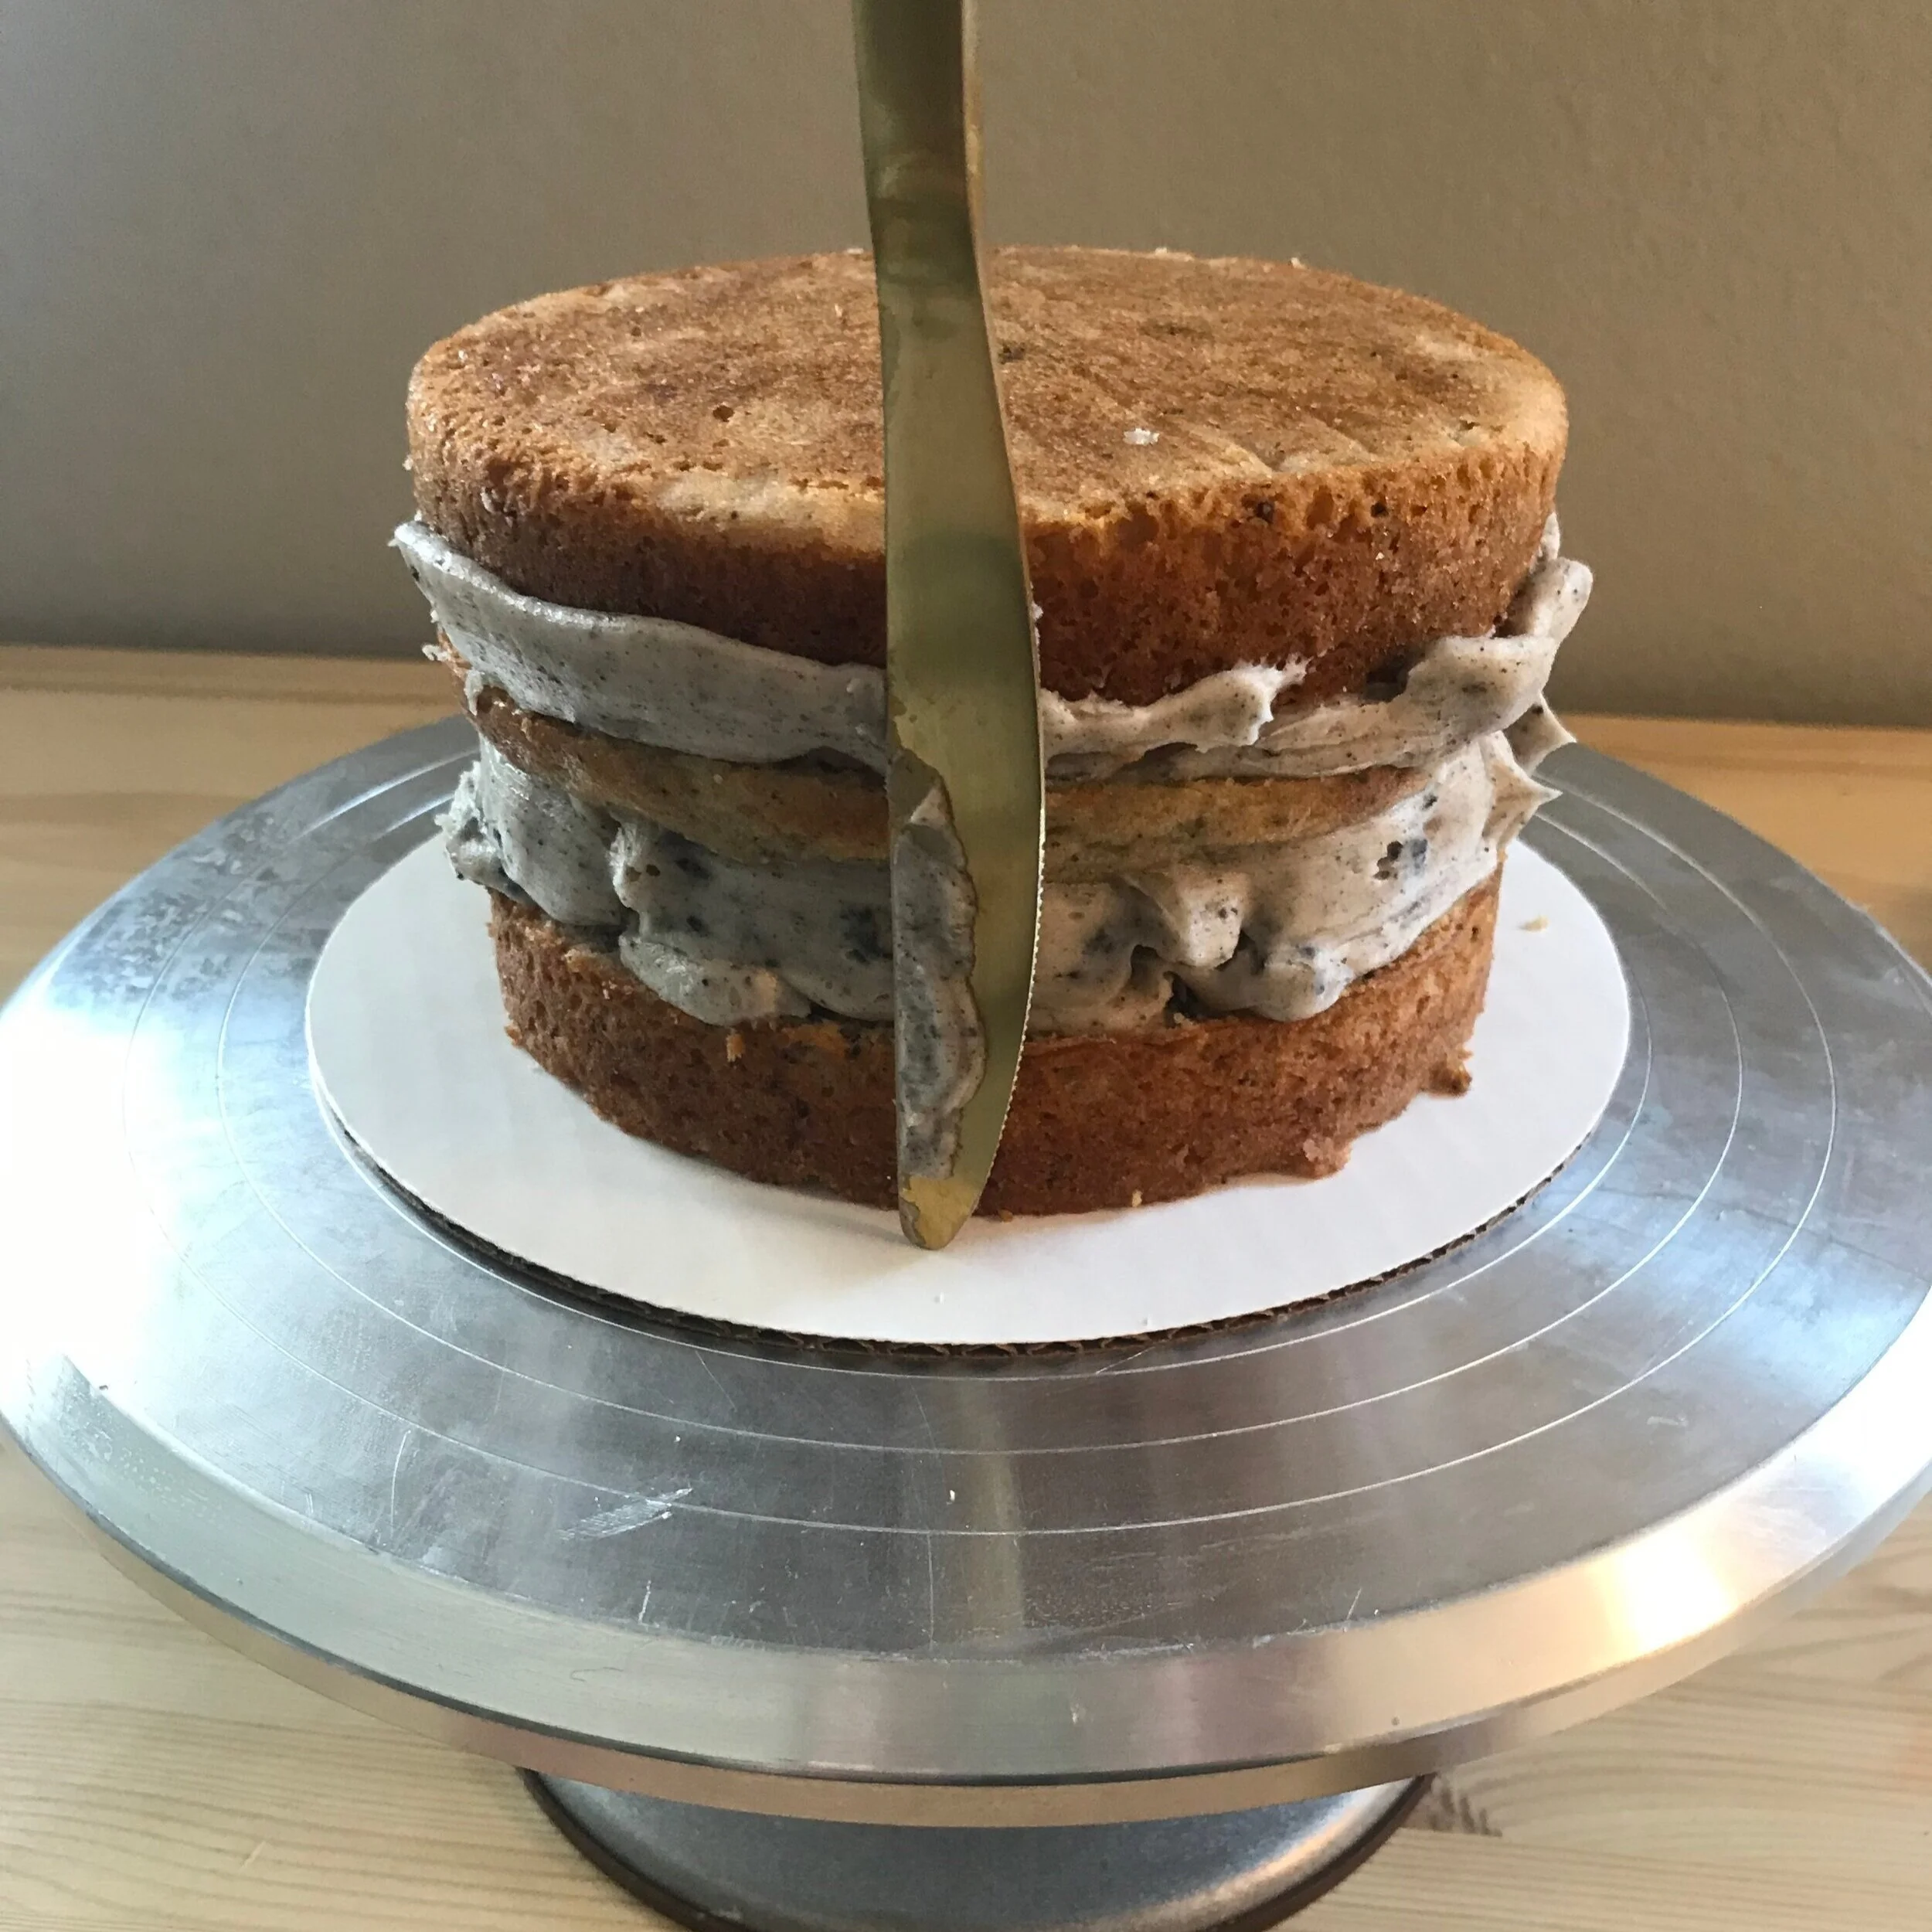
Identify where each layer is and remove the top layer of the cake, setting it aside on the clean plate. Take the middle layer of the cake and put it on your cake board. Make sure it is centered and push it down in the middle a little to make sure it is stuck with the buttercream dollop to the board.

3.1
For your first layer of frosting, start from the middle of your cake, and make a swirl toward the outer edge.
Then use your offset spatula or the back (straight, flat side) of your butter knife to smooth out the frosting and fill any gaps. The frosting between layers does not need to be very thick.
If you find that the frosting is too thick on this first try, don’t worry just use the knife to evenly scrape some off and save that excess frosting in your bowl.


3.2
Now take your buttercream and make circle around the outer edge of your cake forming a barrier for your marshmallow creme.
Then cut the tip of your marshmallow creme (cut this pretty large) and squeeze 1/2 of your creme onto the cake.
Spread the marshmallow creme around to meet the barrier edge of the buttercream circle.

4
Now you’re ready for the second layer of cake! Take the slightly rounded top layer of cake and flip it upside down to place it on top of the cake you’re creating. This will help ensure the cake stays level, so take a moment to get down with the cake at eye level and check the layer of cake you just added is flat on top and not leaning. If it is leaning you can use a hand to press lightly on the higher side until it appears flat.
Repeating steps 3.1 & 3.2, u the same swirl and smooth technique as the first time, add your second layer of frosting, then add a buffer edge and the remaining marshmallow filling
5

For the final layer of cake, I find it best to flip the layer upside down so what was once the bottom of your cake in the package becomes the top, this will help keep your corners sharp and not too rounded when you do your final layer of frosting later on.
Again I would recommend getting down so the cake is at eye level and checking to make sure the top is flat and not leaning.

6
Now if you have gaps around the outside of your cake you can use the excess buttercream from the filling to fill those in so the sides of the cake are more or less smooth and straight. At this point you don’t need it to be perfect.
Congrats! You’ve now finished layering your cake. Now take a break, hit pause and put the cake in the fridge to chill for 10-15 minutes so the filling sets up….
7
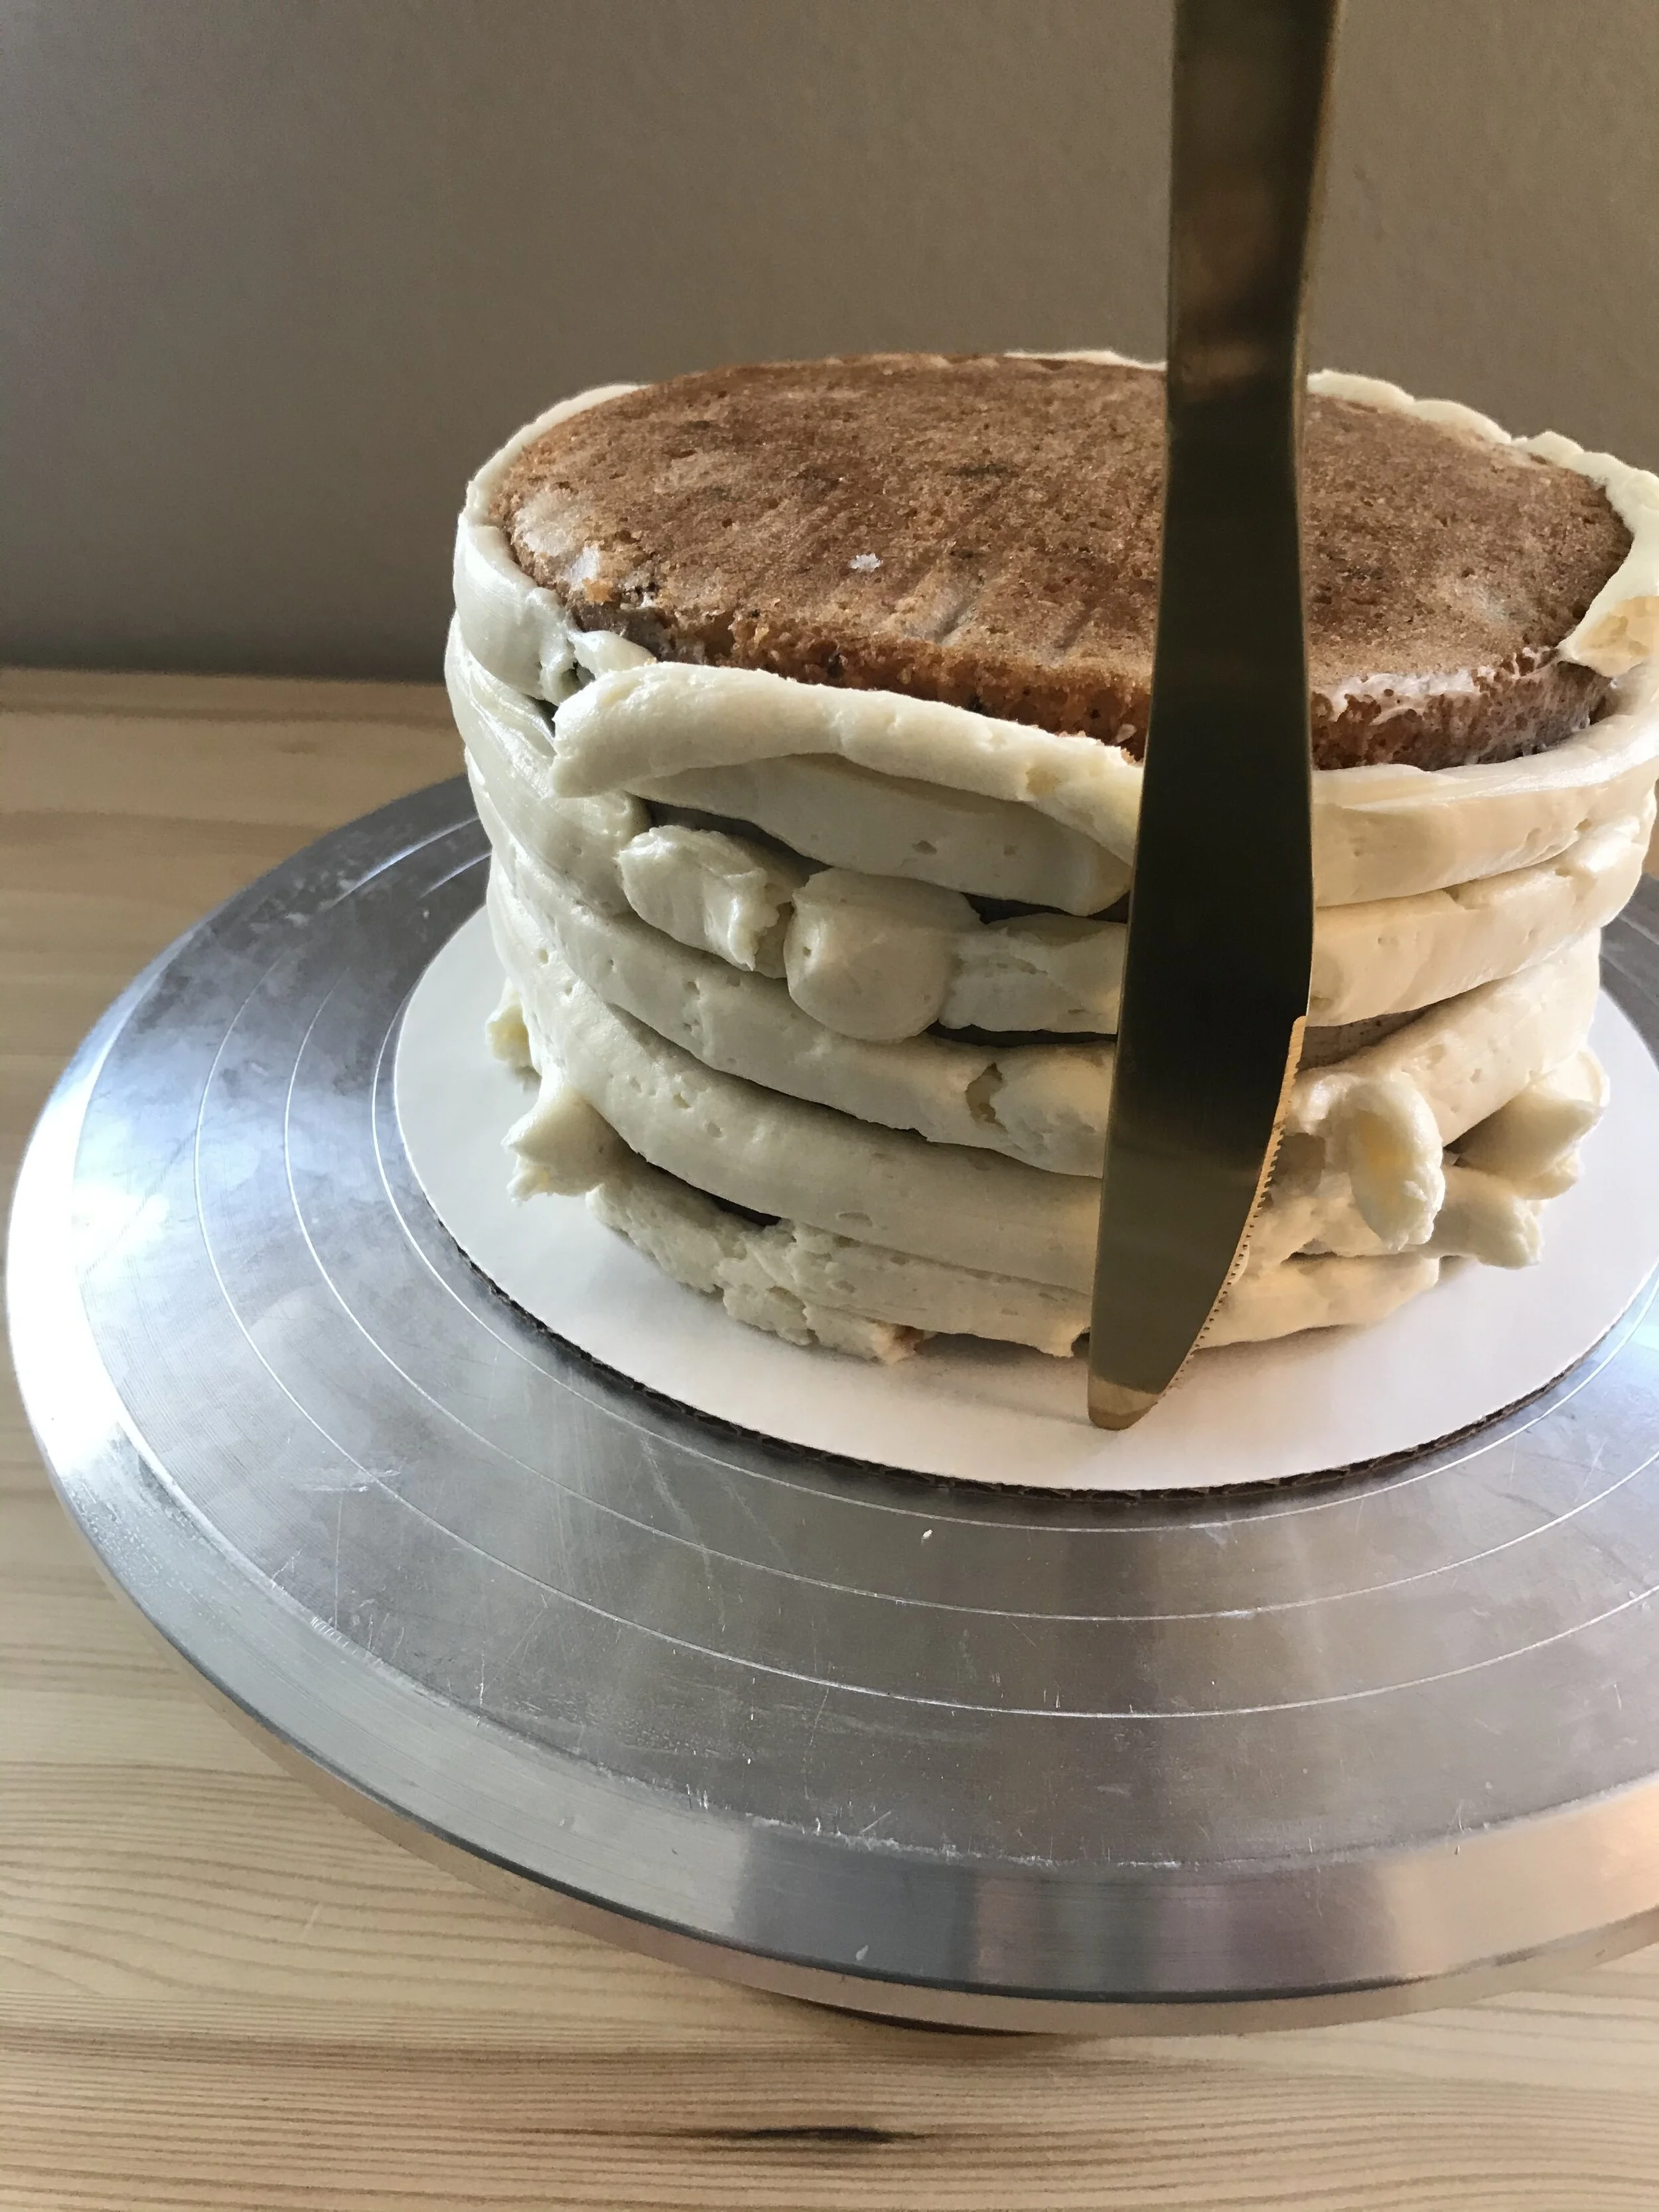
After the cake is chilled, bring it back to your work station and cut the tip of the vanilla buttercream. Only cut about ¾’’ from the bottom. Start small since you can always cut off more. I like my final buttercream for the outside to be nice and soft because it will make smoothing out the cake easier.
Starting from the bottom, pipe the frosting in rings around the cake until you reach the top.

8
Using your spatula or the flat side of your butter knife, smooth out the rings of frosting and save any excess you scrape off in your bowl. There may be small uncovered patches, for now that is okay.
When you smooth the cake be sure to keep the spatula or knife straight up so that the sides of your cake are straight. If you accidentally scrape off too much that’s okay! Just use the tip of your spatula or knife to fill in the patch and try again

9
Starting from the center of the top of the cake, create a swirl pattern outwards toward the edge of the cake then smooth the top of the cake using your spatula or butter knife.

10
Now is the time to use the excess buttercream to fill in the patches on the sides or top, and smooth out your cake.
Tip: Once any bald patches are filled with buttercream, run your knife under HOT water and use the hot knife to smooth the cake. The water on the knife will repel the fats in the buttercream and the heat will help smooth things out.
Once your cake sides are smooth you’re ready to decorate

Sprinkle your graham cracker crumbs along the bottom of your cake, on the top, or however you prefer! And add your graham cracker toppers to complete your cake.

We’d love to see your creation! Tag @CakTheBakery to show us.
(If your account is private, shoot us a direct message so we can see!)


